Photographing wind

How do you photograph wind? Air, of course, is usually invisible. We sense wind by the pressure of the air on our skin, the sound of the wind as the air interacts with other objects, and the sight of objects in moving in response to the force of wind. I can see at least four visual cues of wind in this drawing of Pooh and Piglet on the Blustery Day. How can I capture that visible movement in a photograph? Setting my camera to a slow shutter speed (=long exposure) or blending successive images in Photoshop might just do it.
The other morning, I woke up while it was still mostly dark out and I could hear a thunderstorm approaching. (Perhaps this could have been an opportunity to photograph indoor coziness?) I settled in to do some computer work and could hear the rising wind grow louder and louder through the closed window behind me. I love to watch storms, so I got up to peer out. It was still quite dark, but I could see the trees thrashing in the back yard against a paler, gray sky.
I grabbed my ever-present camera and checked the settings. ISO 400—an ok place to start. Aperture F9.0—not letting a lot of light in that way! With that combination of settings in Aperture Priority mode, my camera set the shutter speed to 0.6 seconds. Yes, that might be just about long enough to capture the motion of wind-blown leaves and branches. I know this from experience (recalling a day when I experimented as classes let out on a college campus)—a shutter speed of 0.5 seconds turns a walking person into a barely visible ghost. Any longer, and walking figures just vanish. Try a Google search like on “long shutter speed people vanish” for more on this.
So, if moving people vanish when the shutter speed is long enough, what happens in wind? Well, you could end up with just a faint gray blur, and no detail. But people tend to walk with purpose, in a direction. Objects moving in the wind generally move back and forth if they are attached to something that doesn't move like a tree trunk or a flagpole. They can reach a brief moment of no net movement right in the middle between the forth motion and the back motion, so if you are lucky and use just the right shutter speed, you might be able to capture both some blur suggesting motion, and some detail of a moving object.
Back to the thunderstorm. A little playing around reassured me that 0.6 seconds was a good exposure time for this moment as it maximized the motion blur, and I thought the silhouetted look of the trees was ok too, though the sky was still pretty dark. I found myself braced against both sides of the open window, so the thicker tree trunks had a chance of staying in reasonable focus as they were not moving. You might prefer a tripod. Now it was time for the zen moment. Listen for the wind, watch how the branches move, try to press the shutter at the height of both. I fired off a lot of shots, not knowing which might give me the motion blur I was looking for. Some were better than others and I picked the five best.
Here’s my most promising shot as it came straight out of camera.

Despite how dark the exposure is, you can see the blurred parts where the smaller branches were moving. I decided to play around in Lightroom to see if I could make the wind effect more visible. The version below is very different—the brighter image with heightened contrast makes the moving leaves and branches more apparent, but the dark and stormy feel is gone.


Lightroom settings for image above
If you haven’t tried a long exposure before, be aware that my dark and stormy morning was also a perfect time to try it because a slow shutter speed lets so much light in that it can be hard to get a usable exposure. In brighter conditions you will need to use your lowest ISO and your smallest aperture (large F number) to be able to have your shutter open for long enough while letting in as little light as possible. Better yet, put a Neutral Density filter on your lens (sunglasses for your camera) so the long exposer doesn't blow out your image.
Not entirely satisfied even after my LR adjustment, I decided to try blending several images in Photoshop to see if I could get a better feel of wind by merging views with leaves and small branches in different positions. Eventually I got what you see below—it's pretty good, but I will probably keep trying!
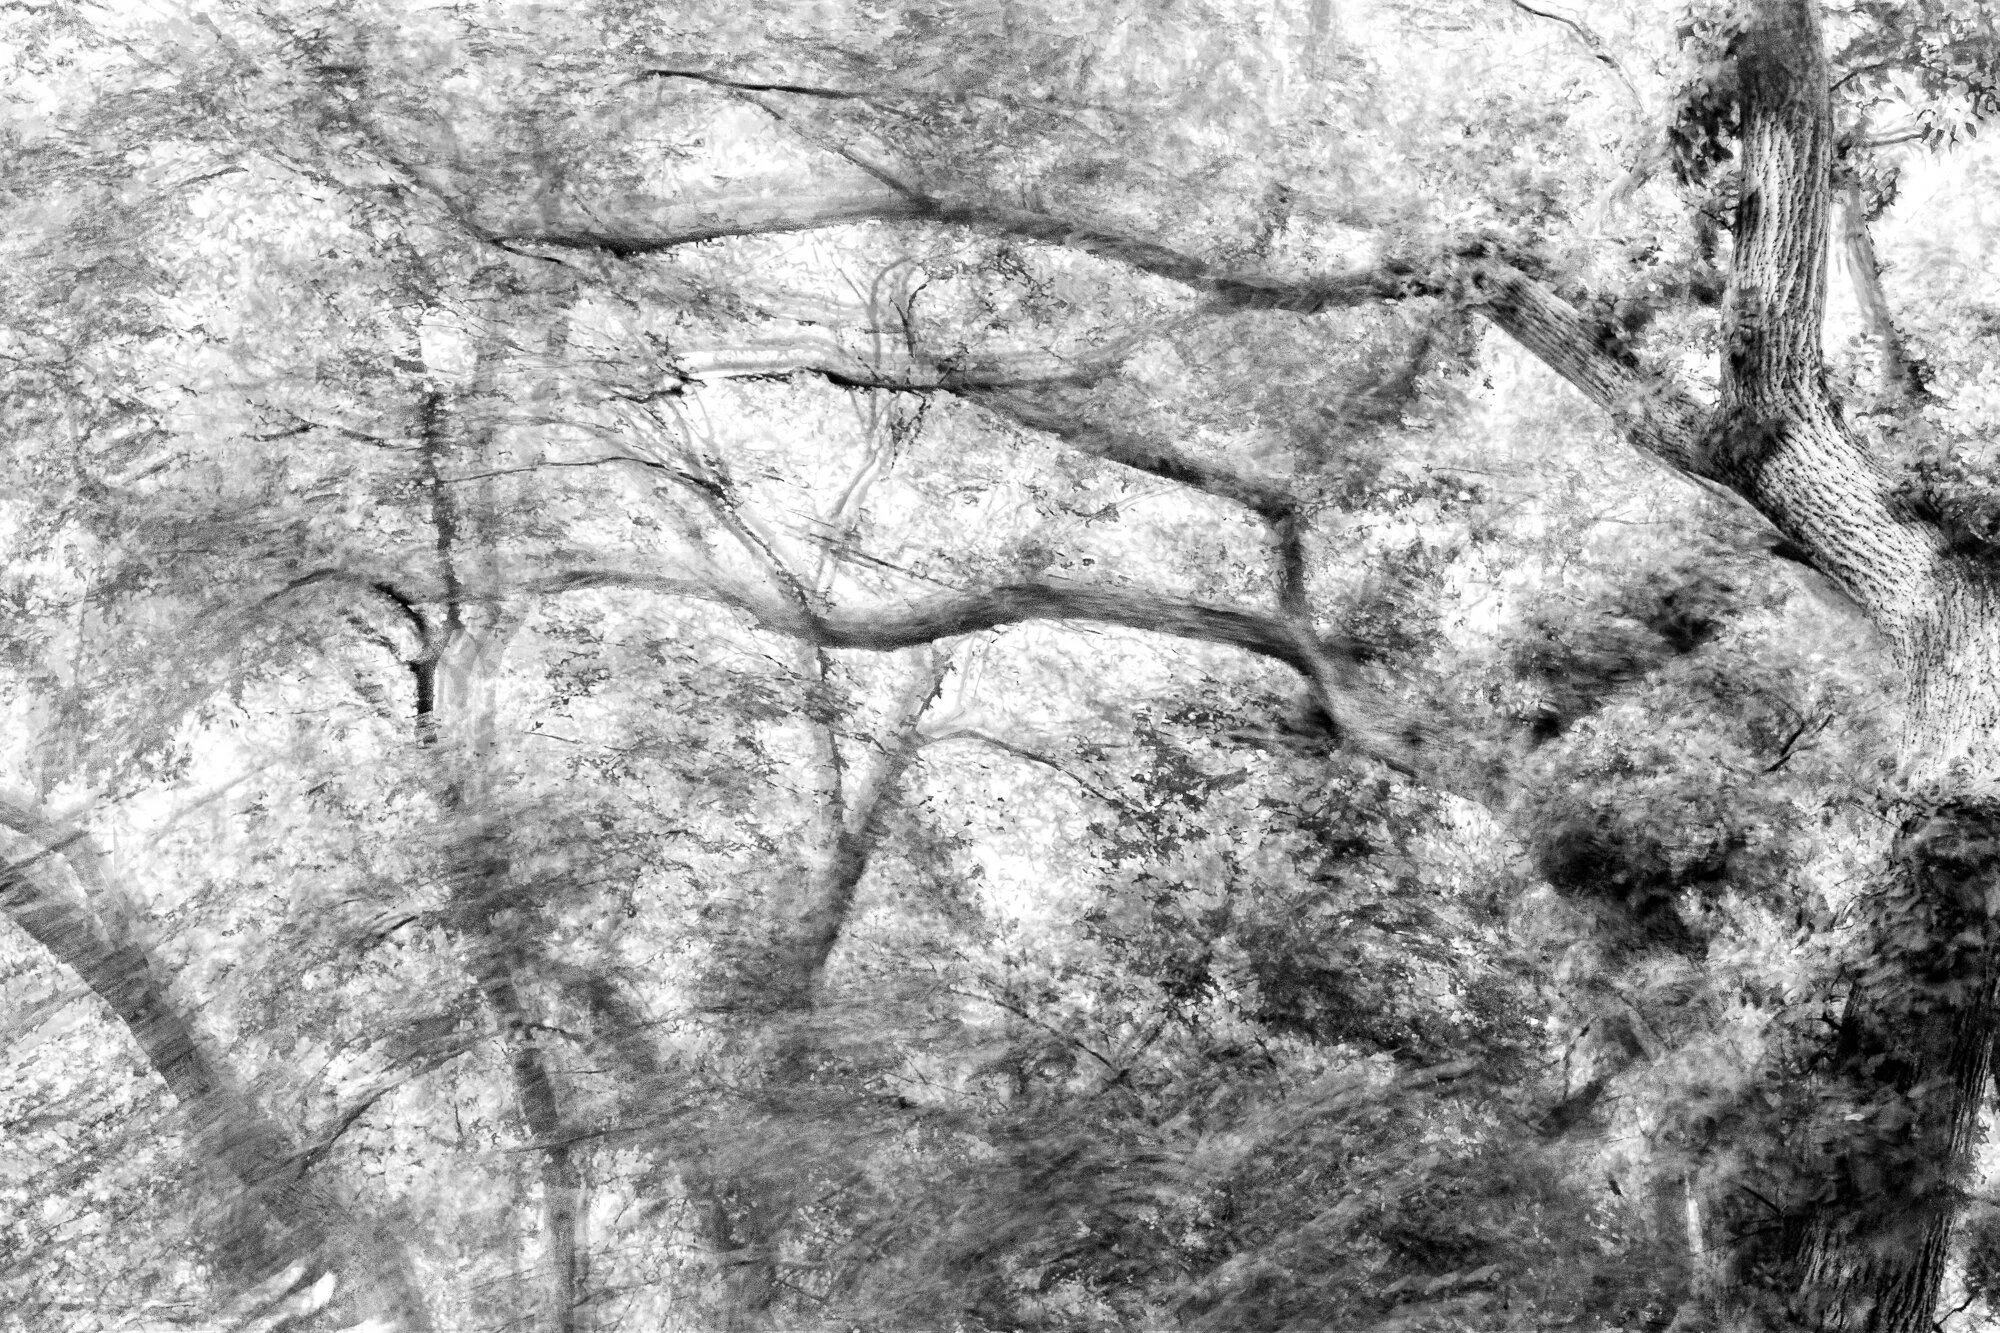
Photoshop details
I brought my five images into PS from Lightroom using Edit In > Open As Layers in Photoshop.
I aligned the five images manually by reducing the opacity of the top 4 layers to about 50% then lined each one up separately with the bottom layer until the large branch on the right matched. To line up one layer at a time with the bottom layer, turn the eyeballs of the other layers off. You could also try Edit > Autoalign Layers.
Next with eyeballs for all five layers turned on and opacity back to 100%, I messed around with different blend modes (I chose darken), converted to black-and-white, and finally reduced the opacity of the top four layers again to 25%.
How will you capture wind? Will you go for entire trees? Or a smaller subject being buffeted by wind? Can you find camera settings that work for you, or will you find a way to make the wind appear with Lightroom and/or Photoshop?